Hanger bolts are my new obsession. There are currently four of these hidden little gems in my bathroom remodel project; two holding up my wall mount sink and two propping up my sweet, sweet behind-the-toilet floating ledge. I tried it on a whim, and from this day forward, I will mount all floating shelves, ledges and what have you this way. It is so easy and invisible that I might just start mounting random horizontal boards (a.k.a. wine glass ledges) all around my house. If they’re sturdy enough to hold up my 35 lb. wall-mount sink, they sure as heck can be trusted to support a Solo cup full of Botabox cabernet.

To watch the step-by-step installation, click the video below.
What you’ll need:
- Wood board of desired variety and size, prepped and ready to mount (well if that isn’t the easiest “that’s-what-she-said” setup ever, I don’t know what is)
- 2-4 hanger bolts depending on the length of your ledge. I used (2) 1/4in-20 x 4inches
- Pliers
- Drill
- Level
- Stud finder or amazing intuition
- Marker or lipstick
- Liquid adhesive (optional)
What you’ll do:
Step 1
Cut, sand, stain and otherwise prep your floating ledge. Mine will double as a shelf and as a place to hang the toilet paper roll holder, so I attached that as part of the prep process.
Step 2
Find the studs and mark where you want the shelf to attach to the wall. Use a level and a strait edge, or if you are mounting above a level tile line like I did, just make sure the marks are equal distance from the top of the tile. I made my marks half an inch above the tile so that it has the appearance of resting on the top of the tile.
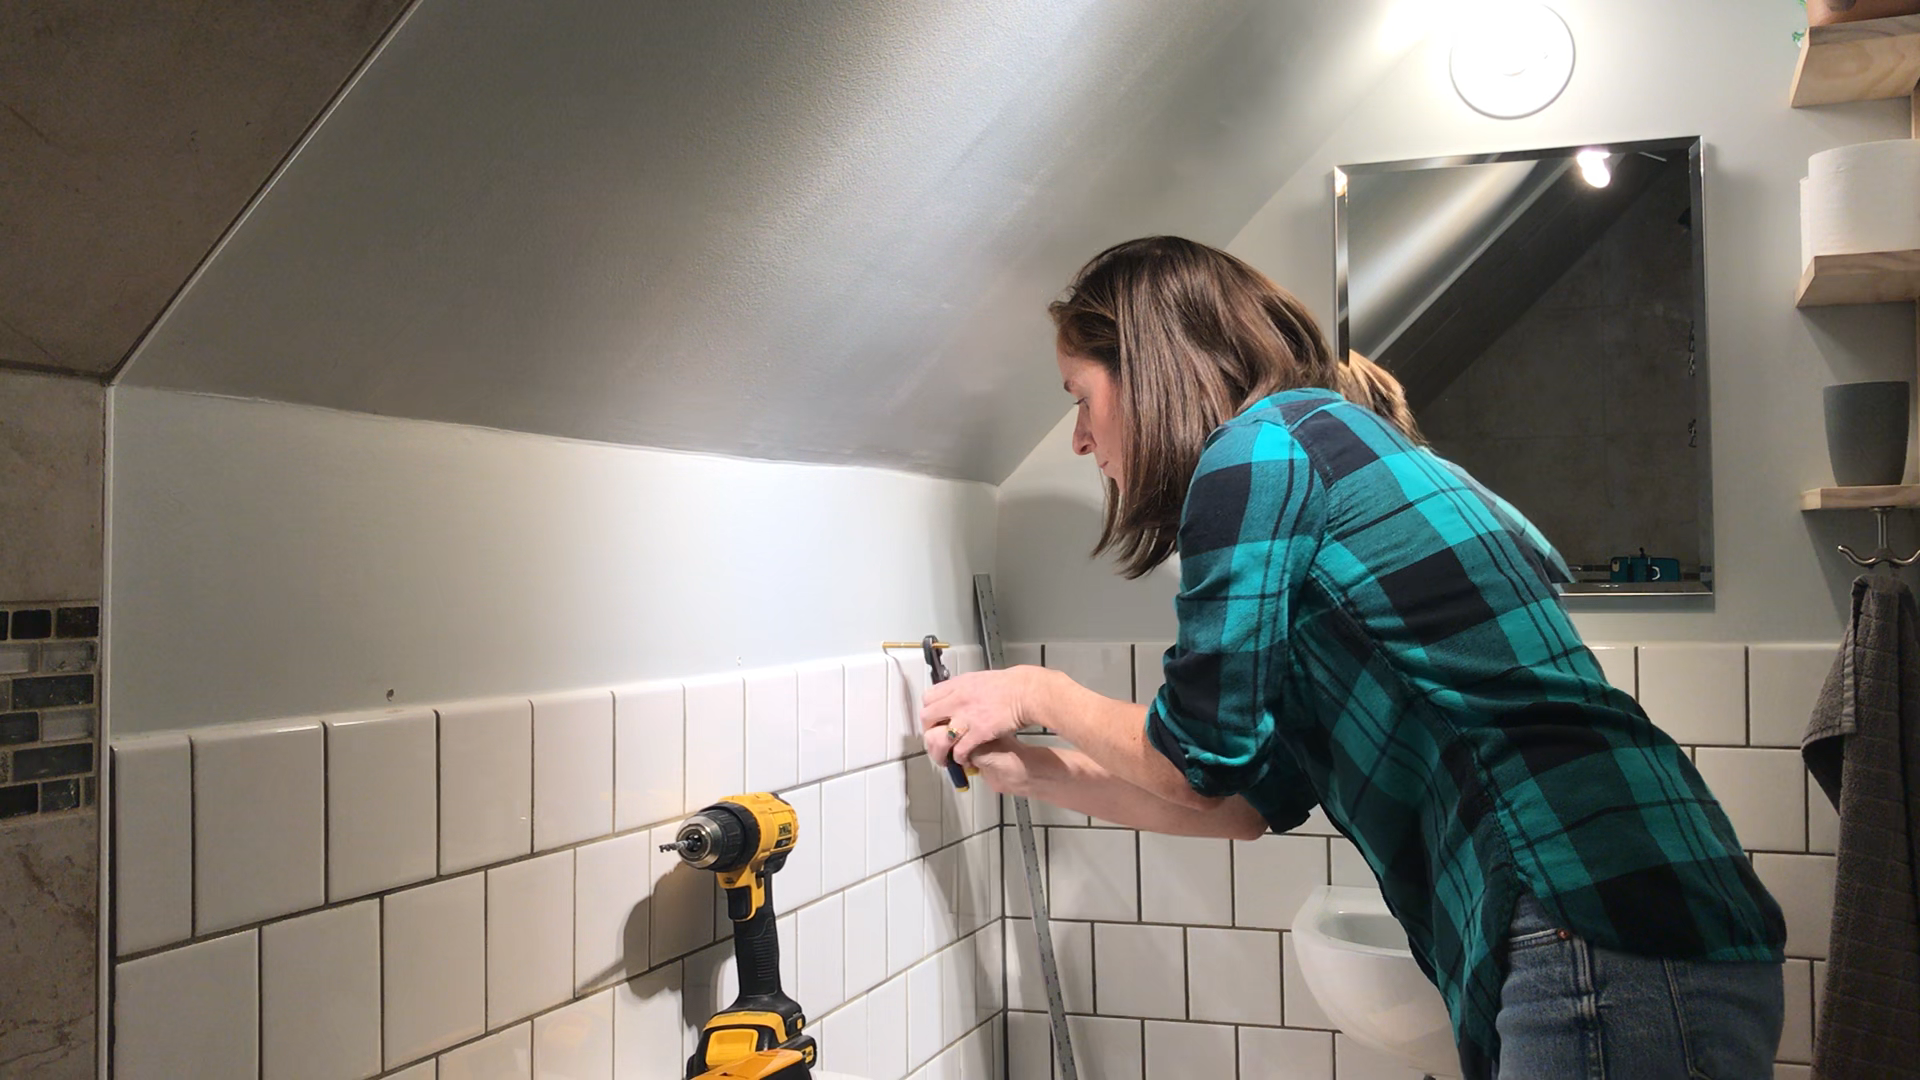
Step 3
Drill holes for the hanger bolts as strait as possible and screw the bolts into the wall with pliers, making sure they are all level with one another.
Step 4
With your marker or sexiest lipstick color, color the ends of each bolt. With a level on top of your shelf, hold the board up to the bolts and touch the back of the ledge to the bolts making sure it is level as the floating ledge makes contact with the colored ends of the bolts. This will leave marks in the places where you need to drill. 
Step 5
Drill straight into your ledge with a drill bit that is one size larger than the bit you used to screw the hanger bolts in the wall. Make sure it is deep enough or your floating shelf won’t be flush with the wall.
Step 6
Line the holes in your floating ledge up with the bolts in the wall and push the ledge toward the wall. There should be a little tension, which is good. If there is too much, or if the ledge won’t slide onto the bolts, you can make the holes a little bigger. I had success just pushing on one of the bolts a little and wiggling the board a bit until it slid on. For added strength, put a small line of liquid nails on the wall edge of the ledge. 
Step 7
Top your finished ledge with your favorite decor or alcoholic beverage. Cheers, you just made the easiest floating ledge in the word!

That is a great idea, and it came out looking beautiful! I love it! I could always use another liquor-holder around the house
Thanks! Yes, there can never be too many :).
This AND the door project are just what I need right now! So glad to find your blog. Did you build that nifty wall shelf too?
Thanks! So glad to have you! I did build the shelf. It wasn’t supposed to be permanent because I just used scraps, but I think I’ll keep it around:).