


If you aren’t into written instructions, you can watch me do the project and get plumbing tips from a three-year-old.

What you’ll need
Wall flanges
What you’ll do
Step 1
Turn off your water. Make sure it is off. Check one more time.
Step 2
Remove your old vanity or sink. You’ll need to remove the drainpipe and supply lines as well. This could be as easy as unscrewing or as hard as sawing off a PVC pipe. Every situation will be different, but as long as your water is off and you have a plan for plugging and capping the supply and drain, you’ll be fine.
Step 3
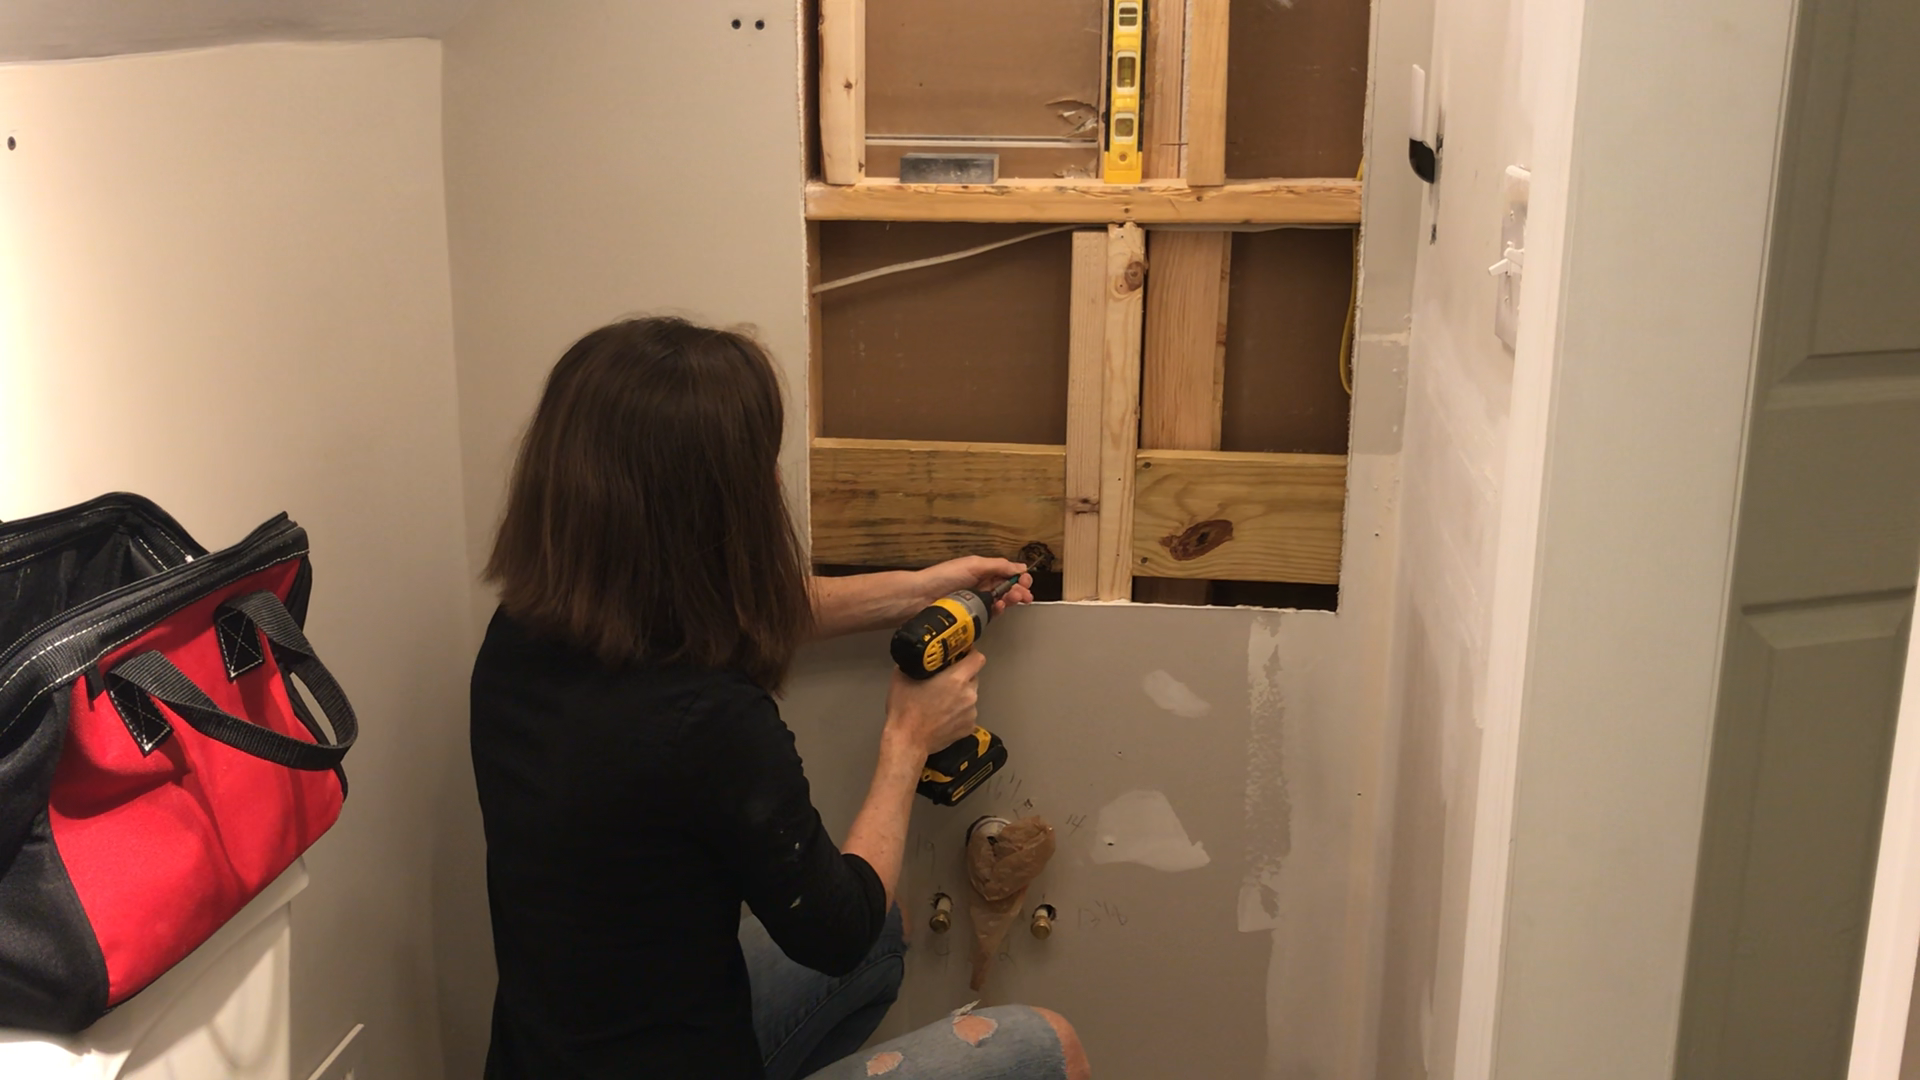
Decide where you want to hang your sink (34 inches is pretty standard). Cut a hole in your dry wall where you will attach the backing. Backing is essentially a horizontal 2×6 or 2×8 placed between studs to support the sink and keep it from sagging over time. Locate your studs and measure the distance. Cut your backing so that it fits tight between the two studs. Add screws and make sure the backing is secure. I happened to be adding a medicine cabinet and wiring a new light, which is why I removed most of the wall. Your cutout will be much smaller if you are only doing a sink.

Step 4
Patch, prep and paint your wall. If you are tiling (which I strongly recommend if you have a little boy), now is the time to do it. Once your wall is prepped, make small marks where you plan to hang the sink. A tip for tile is to use a dry erase marker. Remember to account for any space between the top of the sink and the installation holes.

Step 5
Attach the faucet and drain to the sink. Again, it is much easier to do this before you hang your sink. Use plumbers tape on connections with threads.

Step 6
Drill holes and install hanger bolts or a sink bracket. I used bolts and they are very sturdy. Because I tiled my wall, I had to make the holes with a masonry drill bit. To do this, I placed tape over the spots where I planned to drill and used a rubber mallet with a normal bit to break the tile glaze and create little divots. Doing this prevents the masonry bit from sliding all over the tile. I highly recommend this step. The video provides a better visual. Drill through the tile, then switch to a regular bit to drill into the backing. Install your hanger bolts with pliers.

Step 7
Now it’s time to hang the sink. Find another person for this part to help with the leveling. Lift the sink onto the hanger bolts and add washers and nuts. Keep a level on the sink throughout this process. Tighten the nuts with a socket wrench, but do not over tighten.
Step 8
First make sure that your supply lines and trap will fit the pipes coming out of the wall. If not, visit your local plumbing store with your measurements and find transition pieces. It is also likely that you will need to alter the length of the p trap arm. It might be necessary to buy an extender or to use a hack saw to shorten it. This might sound daunting, but it really isn’t. And if you mess up, the parts are cheap and replaceable so you should be able to try again.
Attach your trap to the tailpiece that hangs down from the drain in your sink. Then connect the horizontal part of the trap into the wall drainpipe as far as it will go. Once everything is in place, tighten the slip nuts.

Now attach the supply lines. I used knobs that you push onto the PVC wall pipes and then screw in the supply lines. Use Teflon tape for this and make sure everything is really, really tight. The first time I did this I wasn’t careful and water sprayed everywhere when I turned everything back on.
Step 9
Caulk the back edge of the sink where it meets the wall. Check for a few days to make sure you don’t have any leaks. And if any of this is overwhelming, drink a glass of wine, take a deep breath and call a plumber. Water damage is problematic so be aware, but this isn’t brain surgery so the risk is manageable. As always, DIY at your own risk.